There is no single visual test that will tell you with certainty whether a wall is load-bearing. What you can do is gather a set of clues that make it more or less likely, and that evidence helps you have an informed conversation with a structural engineer before spending money on one. What you cannot do is treat those clues as a substitute for professional assessment and start knocking the wall down.
That said, the clues are genuinely useful, and understanding them is the right place to start.
Quick Visual Checks to Start With
Before you call anyone, spend thirty minutes walking the house and noting what you see. The checks below are listed roughly in order of reliability.
Check the Joist Direction (Most Reliable Indicator)
Floor joists span between load-bearing walls. A wall that runs perpendicular to the floor joists is almost always carrying load, the joists are sitting on it (or sitting on a beam it supports). A wall that runs parallel to the joists is far more likely to be a partition.
To find joist direction without lifting floorboards:
- Look at the ceiling below for plasterboard joints or old nail lines running in one direction, these follow the joists.
- In lofts, joists are usually exposed and you can see their direction and bearing points directly.
- Check which direction floorboards run. Floorboards generally run perpendicular to joists, so if the boards run east–west, the joists run north–south.
Once you know joist direction, compare it against the wall you’re querying. Perpendicular to joists: treat it as structural until proven otherwise.
Wall Position and Running Direction
Where a wall sits in the plan matters enormously.
Central walls running parallel to the front of the house (and so parallel to the ridge in a traditional two-storey terrace) are nearly always load-bearing. In Victorian and Edwardian terraces specifically, the spine wall, the cross wall between the front and back rooms, usually carries the floor joists from both sides and is almost always structural. Removing it without engineered steelwork is one of the most dangerous mistakes homeowners make.
Walls directly above or below another wall are strongly likely to be part of a load path. If there is a wall in the same position on both floors, load is transferring downward through it.
Walls at the edge of a room that sit over a foundation or a concrete ground floor are also suspects. External walls are always structural; gable walls carry roof loads.
Post-war homes with trussed rafters (roughly 1960s onwards) are a different story. Trussed rafter roofs are designed to be self-supporting and span between external walls, meaning many internal walls in those homes are non-structural partitions. This does not mean all of them are, but it does mean you cannot assume a wall in a 1970s semi is carrying roof load the way one in a 1905 terrace would be.
Wall Thickness
Thickness is a useful, but not definitive, indicator. Here are the standard UK figures:
| Thickness | Construction Type | Structural Likelihood |
|---|---|---|
| 100 mm | Timber stud partition | Usually non-structural, though some older stud walls carry floor loads |
| 100 mm | Solid concrete block or half-brick wall | Could be either, needs investigation |
| 215 mm | One-brick solid wall (bricks laid across the wall as headers, e.g. English or Flemish bond) | Often structural in pre-1960 homes |
| Over 215 mm | Thicker solid brickwork or a cavity wall | Highly likely structural |
| Any | External leaf of cavity wall | Always structural |
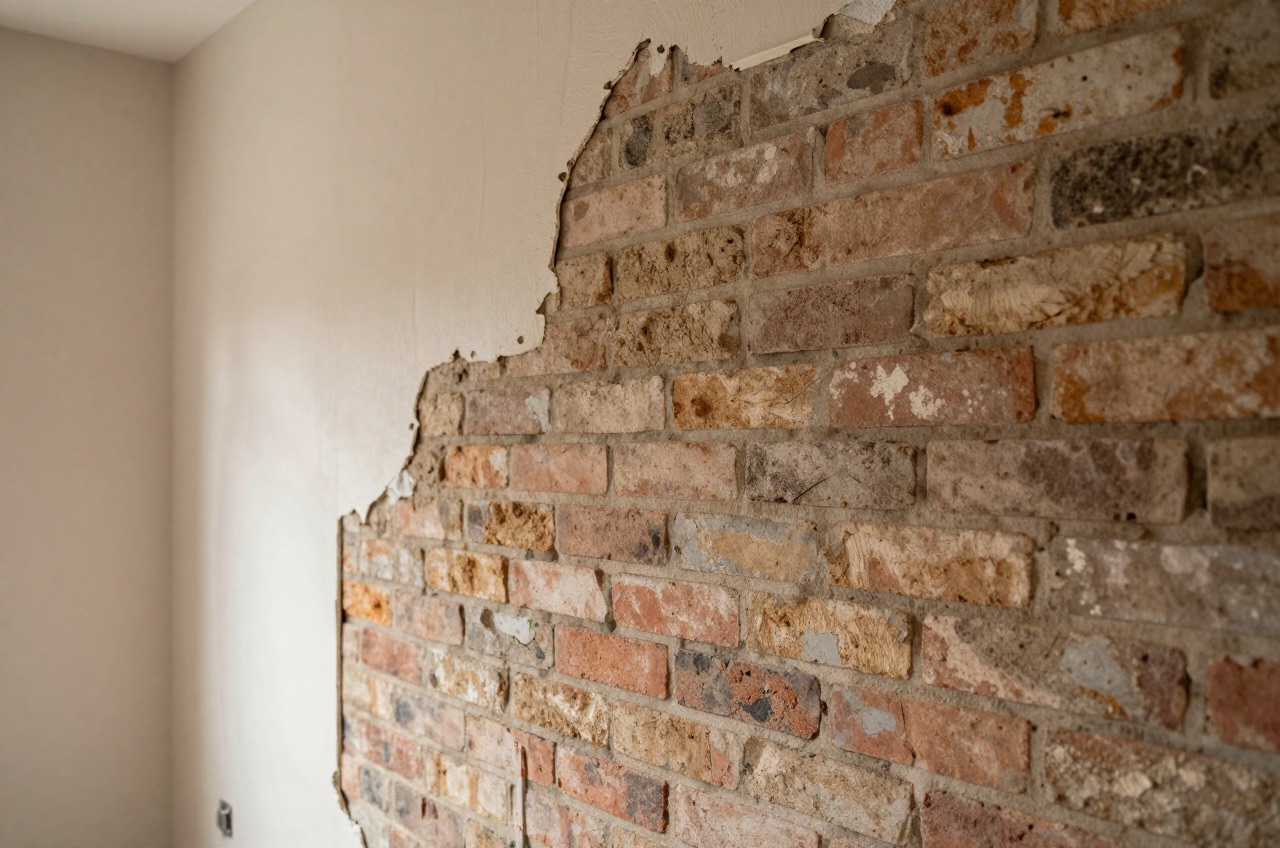
A standard UK brick is 215 mm long and 102.5 mm wide, so a single skin of bricks laid lengthways (stretcher bond) is only about 100 mm thick, while a wall one brick length thick is about 215 mm before plaster.1
Measure at the door frame reveal or an electrical socket box to get an accurate thickness. A stud-and-plasterboard partition is typically 100–125 mm total. A solid brick wall at 215 mm will feel and sound entirely different, knock it and compare with a wall you know to be external.
One caution: a thin wall is not proof it is non-structural. Some Victorian houses used 100 mm solid brickwork for internal load-bearing walls, and some post-war homes used 100 mm dense concrete block as a structural spine. Thickness narrows the field; it does not close it.
What’s Above and Below
Whatever a wall is carrying, it has to transfer that load down to the foundations. Ask yourself:
- Is there a wall, column, or steel beam directly below this wall in the storey beneath? If yes, load is travelling through it.
- What sits on top of this wall? If a ceiling joist, purlin, ridge beam, or another wall above bear on it, that load has to go somewhere.
- In a loft conversion, has anyone installed a new steel or timber post that bears on this wall? That is a strong sign an engineer has already identified it as structural.
If you can safely access the loft space, do so before anything else. Purlin positions, ridge beam bearings, and whether any ceiling ties connect to the wall in question will often answer the structural question more clearly than anything you can see from below.
Check the Original House Plans
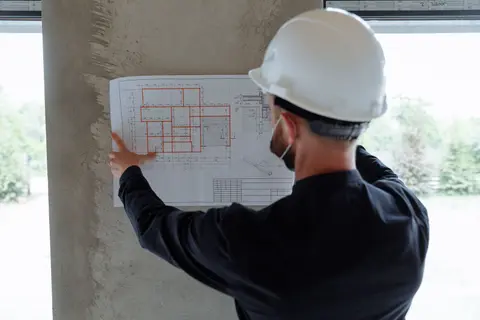
If your house is relatively modern, the local authority may still hold the original building regulations drawings. Ask your council’s building control team for a records search (some charge a small fee), and you may receive the original plans showing which walls were designed as structural elements. Alternatively, if you bought recently, the seller’s property information form (TA6) sometimes references any structural alterations that have already been made, with engineer’s certificates attached.
If the house has been extended or altered, the previous owner should have retained Building Control completion certificates and structural engineer drawings. Chase these through your solicitor if you do not have them.
Why Only a Structural Engineer Can Confirm
Every check above is inference, not proof. A structural engineer visits the site, assesses the actual construction, takes measurements, and, critically, applies engineering judgement to the full load path: the roof, the floors above, eccentric loads, the condition of existing timbers, and how the building has behaved over time. No visual clue you gather from a loft hatch or a tape measure can replicate that.
In 2026, a structural engineer’s site assessment for a single internal wall typically costs:
- £300–£600 for a single-wall assessment including confirmation of load-bearing status and, if needed, an initial beam sizing.
- £800–£1,500 for a full structural survey covering multiple walls or a full reconfiguration layout.
If the wall is confirmed load-bearing and you proceed with removal, the engineer will also produce:
- Structural calculations for the replacement beam (RSJ or glulam) including sizing, bearing length, and padstone specification.
- Drawings for submission to Building Control under Building Regulations Part A.
Supply and installation of a steel beam (RSJ) to span a typical 3 m opening runs to:
- £500–£900 for the steel section itself (supply only, ex-VAT).
- £600–£1,200 for installation labour, including temporary propping, padstones, and making good, more in London and the South East.
That is the legitimate cost of the job done correctly. It is not optional.
The Risks of Getting It Wrong
This section is not here to alarm you, it is here to make sure you understand what the downside actually looks like, because “my builder said it should be fine” is not an engineering assessment.
Structural failure from removing a load-bearing wall without adequate temporary support or a correctly sized replacement beam does not necessarily happen immediately. The wall may carry load for weeks or months before deflection in the floor above, cracking, or, in the worst case, progressive collapse occurs. Progressive collapse, where the failure of one element leads to the sequential failure of those dependent on it, is a recognised and documented failure mode in domestic construction.
Building Regulations Part A (Structure) requires that any material alteration to a building must not make the building less stable than it was before.2 Removing a load-bearing wall without Building Control notification and sign-off is a breach of Part A. The council can serve a notice requiring you to remove the work or alter it so that it complies, at your own cost, up to 10 years after the work was completed.3 Contravening the Building Regulations is also a criminal offence, punishable by a fine and, in serious cases, imprisonment.4
Insurance is a related problem. Many home insurance policies expect structural alterations to comply with Building Regulations and to be disclosed. A wall removed without approval can give an insurer grounds to refuse a claim or cancel cover, including claims for fire, flood or subsidence that have nothing to do with the wall you removed.
Liability is the most serious issue. If a subsequent owner, tenant, or visitor is injured as a result of an unsafe structural alteration you carried out, you can face personal civil liability and, if the work was grossly negligent, potential criminal liability. Civil damages are not capped at a fixed amount.
No informal opinion substitutes for engineer’s calculations
A builder’s opinion that a wall “looks like it should be fine to take out” has no legal or engineering weight. Only a chartered structural engineer’s signed calculations and a Building Control completion certificate demonstrate that the work was done properly.
What to Do Next
If your checks suggest a wall is likely load-bearing, the process is straightforward:
-
Instruct a structural engineer for a site visit. Use an engineer who is a member of the Institution of Structural Engineers (IStructE) or the Institution of Civil Engineers (ICE). Expect to pay £300–£600 for the initial assessment.
-
Engineer confirms load-bearing status and produces calculations. These will specify the beam size, bearing length, padstone dimensions, and temporary propping requirements. The calculations are signed and stamped.
-
Submit a Building Regulations application to your local Building Control. You can use the local authority or a registered building control approver (the private firms known as approved inspectors until 6 April 2024).5 Notify them before work starts, not after.
-
Temporary propping is installed by your builder before the existing wall is touched. Propping must be designed to carry the load safely during the works, your engineer’s calculation will specify the propping load. This is not optional and is not something to economise on.
-
Wall is removed and beam is installed with padstones bedded properly to spread load into the masonry below. The builder will likely need an in-progress inspection from Building Control.
-
Building Control signs off and issues a completion certificate. Keep this certificate permanently, it will be required when you sell the property and will be requested by any buyer’s solicitor.
If the wall turns out to be non-structural, all you have spent is the engineer’s assessment fee and a small amount of your time. That is the best possible outcome from the process, you now know, with certainty, that you can proceed.
The clues in this article will help you arrive at that meeting with your engineer already informed. They will not help you skip it.
The rules in this note are those that apply in England. Scotland, Wales and Northern Ireland have their own building standards and permitted development rights.
References (5)
Figures in this note were checked against the sources below on 30 September 2026. Superscript numbers in the text point to them. Every source the site cites, by topic.
- 1technicalsupplier figureWienerberger UK, guidance.RN-WIL8NQBrick maker's guide to UK brick sizes. It gives the standard UK brick as 215 mm long, 102.5 mm wide and 65 mm high, which sets half-brick and one-brick wall thicknesses.
- 2technicalvery strongThe National Archives (legislation.gov.uk), legislation.RN-R4P8KARegulation 4(1) requires building work to be carried out so that it complies with the applicable requirements of Schedule 1 and does not cause a previously compliant part of the building to breach a requirement. Regulation 4(3) is the rule that matters for extensions, loft conversions and re-roofing: on completion of an extension or material alteration the building must be no more unsatisfactory in relation to the requirement than before the work was carried out. It also sets out the narrower Part L and Part F only route for controlled services and fittings that are not material alterations.
- 3technicalvery strongThe National Archives (legislation.gov.uk), legislation.RN-NKK4KZSection 36(1) lets the building control authority, without prejudice to prosecuting for a fine, serve notice on the owner requiring work that contravenes building regulations to be pulled down or removed, or at the owner's election altered so as to comply. Section 36(2) applies the same power where work was executed without an application for building control approval, despite refusal of one, or otherwise than in accordance with the requirements of a granted application. Section 36(3) gives the owner 28 days, or longer if the appropriate court or tribunal allows, before the authority may carry out the work itself and recover the reasonable expenses. Section 36(4) is the key protection: a section 36 notice may not be given after 10 years from the date the work was completed. Sections 36(5) and 36(5A) bar a section 36 notice where a building control approval application for work that is not higher-risk building work was granted and the work was executed in accordance with the approved plans and any requirement imposed.
- 4technicalvery strongThe National Archives (legislation.gov.uk), legislation.RN-0GJHBJSection 35 of the Building Act 1984, as amended by the Building Safety Act 2022, makes contravening building regulations a criminal offence and sharply increased the punishment. A person who contravenes a provision of building regulations, or a requirement imposed by virtue of such a provision, commits an offence. Under subsection (4) a person guilty of the offence is liable on summary conviction to imprisonment for a term not exceeding the maximum summary term for either-way offences, or to a fine, or both; and on conviction on indictment to imprisonment for up to two years, or a fine, or both. After conviction, continued default attracts a further fine on summary conviction not exceeding level 1 on the standard scale for each day the default continues. Building regulations may exempt prescribed provisions from creating an offence or provide defences. Note the separate two-year enforcement time limit in section 35A and the section 36 power to require removal or alteration of offending work.
- 5technicalvery strongDepartment for Levelling Up, Housing and Communities (GOV.UK), a government page.RN-L7O35QThe government circular letter setting out the changes to the building control process under the Building Safety Act: registered building control approvers replacing approved inspectors, registration of building inspectors, and the new duties on clients, designers and contractors. This is what changed the vocabulary, so a source still saying 'approved inspector' is describing the system before this.
-
Brick sizes and dimensions explained, Wienerberger UK, accessed 30 September 2026. wienerberger.co.uk
-
The Building Regulations 2010, regulation 4: Requirements relating to building work, legislation.gov.uk, accessed 7 September 2026. legislation.gov.uk
-
Building Act 1984, section 36: Removal or alteration of offending work, legislation.gov.uk, accessed 7 September 2026. legislation.gov.uk
-
Building Act 1984, section 35: Offence of contravening building regulations, The National Archives / legislation.gov.uk, accessed 30 September 2026. legislation.gov.uk
-
Circular letter: changes to the building control process, Department for Levelling Up, Housing and Communities (GOV.UK), accessed 7 September 2026. gov.uk