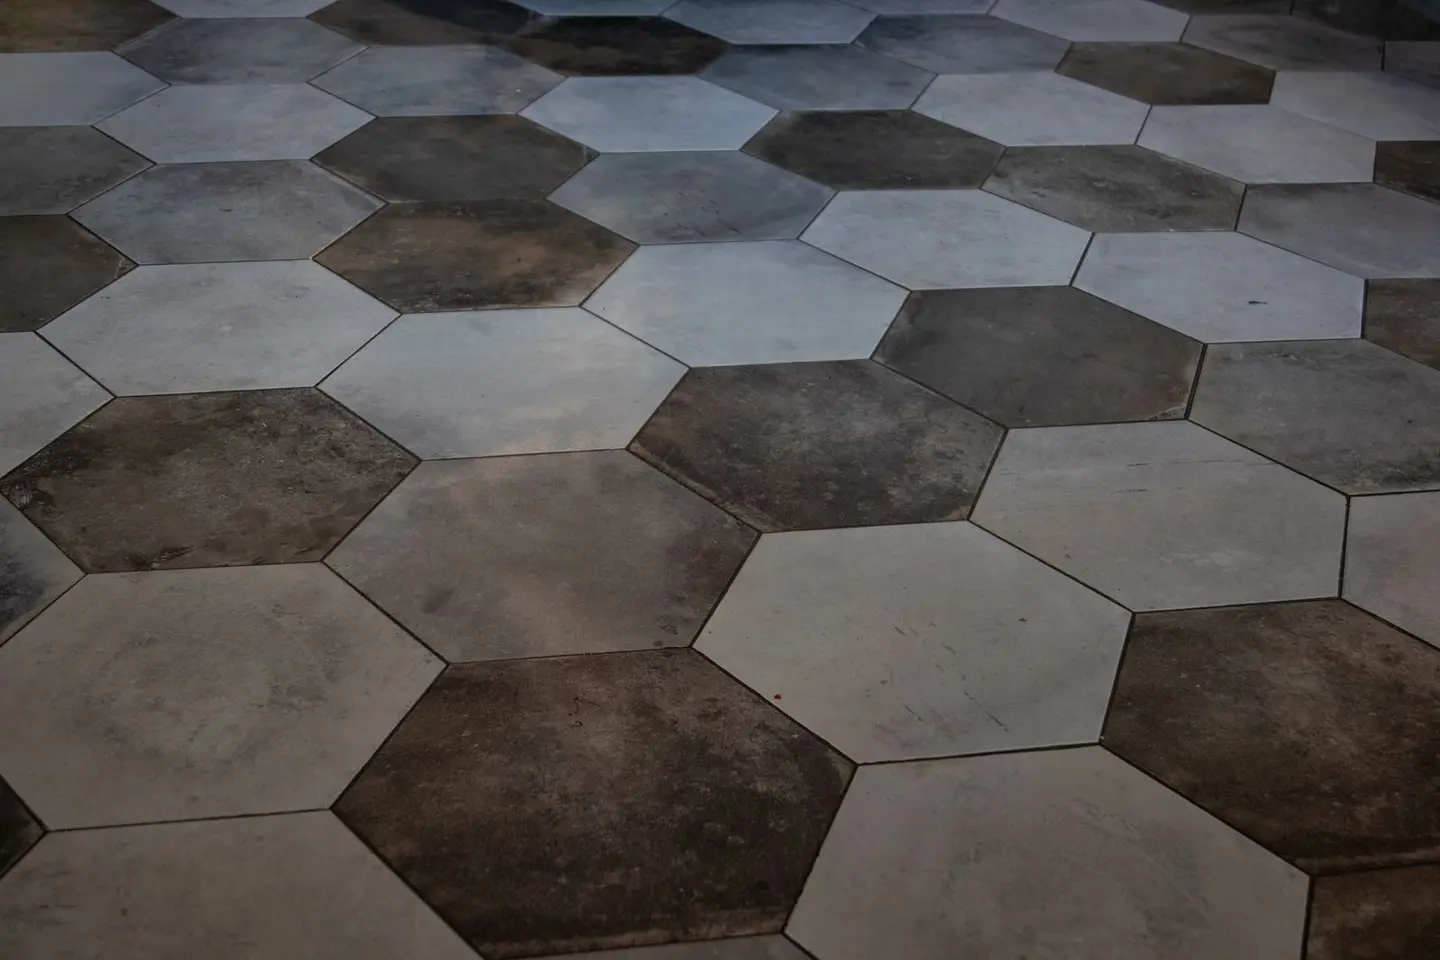
Original Victorian floor tiles, the geometric and encaustic patterns found in Edwardian and late-Victorian hallways, porches, and kitchens, are one of the most rewarding things to restore in an old property. They are extremely durable when properly cared for, and a well-restored floor adds genuine character and value. Most homeowners can tackle cleaning, re-bedding loose tiles, and sealing without professional help. The main challenge is sourcing matching replacements for broken or missing tiles.
This guide covers the full process from assessment to final seal, including the tools and materials you will need, numbered steps for each stage, common mistakes, and guidance on when a specialist tiler is worth the cost.
Assessing the Floor Before You Start
Walk the floor and tap each tile lightly with a coin or wooden dowel. A hollow sound indicates the adhesive bond has failed and the tile is loose or sitting on a void, these need re-bedding before cleaning. Mark each loose tile with a chalk pencil or low-tack tape.
Check for:
- Cracked or chipped tiles, hairline cracks can often be stabilised and made less visible; broken tiles need replacing
- Efflorescence (white powdery deposits), salt migration from the substrate, common in unheated porches; treat the cause before sealing
- Old sealants or wax, many Victorian floors were waxed or treated with linseed oil over decades, which darkens the surface; this must be stripped before re-sealing
- Grout condition, original grout was usually a weak, breathable mix; hard modern cement grout used in later repairs can crack with differential movement
Note the tile pattern carefully and photograph it before any work begins, this is essential if you need to source replacements.
Tools and Materials
| Item | Approximate cost (2026) |
|---|---|
| Stiff nylon scrubbing brush | £4–£8 |
| Specialist tile cleaner (pH-neutral for general cleaning; acid cement removers only for grout haze, tested first) | £15–£30 per litre |
| Hot water and bucket | - |
| Plastic scraper or wooden spatula | £3–£6 |
| Rotary floor scrubber-polisher (hire) | from about £120 |
| Natural hydraulic lime (NHL 3.5), 25 kg bag | £11–£18 |
| Replacement tiles (period salvage or reproduction) | £40–£150/m² |
| Tile sealer (penetrating impregnator, matt finish) | £20–£45 per litre |
| Grout (lime-based, or a weak cement grout pigmented to match) | £8–£17 per pack |
| Knee pads, gloves, eye protection | - |
A rotary floor scrubber-polisher hires from £118.80 at HSS.1 LTP Mattstone, a widely sold impregnating sealer, costs £31.70 a litre at Selco.2
Avoid PVA-based adhesives and strong, rigid cement mortars on Victorian tiles where the floor has any moisture movement, these can lift tiles or cause cracking over time. Historic England advises that rebedding and regrouting historic tiles needs compatible mortars of appropriate strength.3 Natural hydraulic lime (NHL 2 or NHL 3.5) is a common choice of binder for bedding original Victorian tiles.
Step-by-Step Restoration
1. Clear and dry the floor
Remove all furniture and floor coverings. If the hallway connects to the outside, allow the floor to dry for at least 48 hours in mild weather with doors open. Victorian porch floors are often slightly damp from ground moisture; do not seal a damp floor.
2. Dry-brush and remove loose debris
Sweep thoroughly. Use a stiff nylon brush, never a wire brush or wire wool: Historic England advises against wire wool brushes and hard abrasives on historic tiles.3 Remove old wax or product build-up with a plastic scraper, working at a low angle to avoid gouging grout joints.
3. Strip old sealants and wax
Apply a diluted specialist stripper (follow manufacturer dilution, typically 1:3 to 1:10 with water) to a small area at a time. Work it in with a stiff brush, leave for 5–10 minutes, then agitate and mop up. Rinse thoroughly with clean water. On heavily waxed floors, a hired rotary floor scrubber with a black stripping pad dramatically reduces the labour.
Keep bleach for spot stains. Historic England lists chlorine-based bleach, mixed with cold water, as a stain treatment for robust unglazed tiles, scrubbed with a natural bristle brush and rinsed off; do not flood the whole floor with it.4
4. Deep clean
Once stripped, clean the whole floor with a diluted tile cleaner appropriate for the substrate (acid-based cleaners remove mineral deposits; alkaline cleaners remove grease and biological matter). Historic England recommends pre-wetting the tiles, testing any product and method on a small area first, and rinsing off everything you apply.4 Rinse twice with clean water and allow to dry fully, typically 24–48 hours.
5. Re-bed loose tiles
Carefully lift each loose tile using a wooden chisel or palette knife, working from a grout joint. Do not lever against adjacent tiles. Scrape all old adhesive from the tile back and the substrate. Mix NHL 3.5 mortar to a firm, not wet, consistency. Apply a 5–8 mm bed to the substrate, press the tile into position, and tap level with a rubber mallet. Check it is flush with adjacent tiles. Leave undisturbed for at least 48 hours before walking on it.
6. Replace broken or missing tiles
Source matched replacements from:
- Architectural salvage yards, best for common geometric patterns; expect £40–£120/m² for original period tiles
- Specialist reproduction suppliers, companies such as Original Style and Craven Dunnill Jackfield produce period reproductions; expect £50–£150/m² for quality reproductions
- Custom encaustic tile makers, for unusual patterns; lead times of 6–12 weeks and minimum order quantities apply; £80–£200/m²
Fit replacement tiles using the same re-bedding method as above. Ensure they sit at the same height as surrounding tiles before grouting.
7. Re-grout
Rake out old crumbling grout to a depth of at least 5 mm using a grout rake or oscillating multi-tool. Mix an NHL-based lime grout, or a weak cement grout, to a stiff paste, adding pigment if required to match the original (raw umber and black iron oxide cover most Victorian grout colours). Historic England notes that regrouting with a weak cement grout after cleaning can give the tiles a further visual lift and protect their edges.4 Press grout into joints with a rubber float, cleaning excess off tile faces immediately with a damp sponge. Do not allow grout to harden on tile surfaces, it is difficult to remove once set.
8. Seal the floor
Once the floor is fully clean and bone dry (allow 48–72 hours after grouting), apply a penetrating impregnating sealer. This soaks into the tile rather than sitting on the surface, preserving the natural matt appearance while providing stain resistance. Apply with a lint-free cloth or low-pressure pump sprayer; wipe off excess after 10–15 minutes. Two coats are typical for unsealed tiles; one maintenance coat for previously sealed floors.
Avoid topical gloss sealers, they give Victorian tiles a plastic appearance and peel in high-traffic areas.
Historic England cautions that modern coatings have not been fully tested on historic floors and should be used with caution, so try the sealer on a hidden corner first.3 It also advises never using beeswax or linseed oil as a protective coating.4
Common Mistakes
- Sealing a damp floor, moisture trapped below sealer causes clouding and tile lifting; always confirm the floor is dry first, for example by taping a sheet of polythene down overnight and checking for condensation underneath
- Using sharp metal tools on tile faces, even hardened steel can scratch the soft surface of original encaustic tiles
- Applying grout before adhesive is cured, minimum 48 hours for NHL mixes, 24 hours for modern adhesives
- Over-wetting the surface, excessive water during cleaning can soften the bedding, loosen tiles and activate salts3
- Misidentifying the tile type, later reproduction tiles are sometimes glazed or printed ceramic rather than true encaustic tiles with an inlaid clay pattern; they respond differently to cleaners and sealers
When to Call a Specialist
DIY restoration is appropriate for floors that are largely intact, with isolated loose tiles and general dirt build-up. Consider a specialist tiler or conservation contractor if:
- More than 20–25% of tiles are loose or missing
- The substrate has significant heave, settlement, or structural cracking
- The floor has active moisture ingress (efflorescence, rising damp)
- The pattern is complex and replacement tiles need to be sourced in quantity
- The property is listed: Historic England notes that in a listed building you need listed building consent to carry out remedial treatments to historic tiles3
Quotes for specialist Victorian tile restoration commonly run at about £60–£120/m² for labour alone, depending on the condition and complexity of the floor. On a typical Victorian hallway of 4–8 m² that works out at roughly £240–£960 for labour before any minimum charge, plus the cost of materials and any replacement tiles.
Building Regulations
There are no specific Building Regulations requirements for restoring existing floor tiles. However, if the work involves raising the floor level (for example, by adding a new bed over an existing one), ensure the finished floor does not create a trip hazard at thresholds or obstruct door operation. If the property is listed, Listed Building Consent may be required for removal or replacement of original features, check with your local planning authority before starting work. Under the Planning (Listed Buildings and Conservation Areas) Act 1990, works that alter a listed building in a way that affects its character as a building of special architectural or historic interest need consent.5
References (5)
Figures in this note were checked against the sources below on 30 September 2026. Superscript numbers in the text point to them. Every source the site cites, by topic.
- 1costsupplier figureHSS Hire.RN-ER9WU2A price, true at 2026-09. A national hire firm's product page for a rotary floor scrubber-polisher; it gives the starting hire price that replaces the unsourced £40–£60 a day.
- 2costsupplier figureSelco Builders Warehouse.RN-TC8PBCA price, true at 2026-09. A builders' merchant product page for a 1-litre matt impregnating tile and stone sealer; it supports the £20–£45 per litre sealer line in the table.
- 3technicalvery strongHistoric England, guidance.RN-YM854WHistoric England technical advice on the care and conservation of historic tiles, including Victorian encaustic and geometric floors; it sets the rule for bedding and grouting mortars.
- 4technicalvery strongHistoric England, guidance.RN-J5N71XHistoric England's homeowner guide to cleaning period floor and wall tiles; its stain table lists diluted chlorine bleach for robust unglazed tiles, which contradicts the old 'never use bleach' line.
- 5technicalvery strongThe National Archives (legislation.gov.uk), legislation.RN-XN22L9The provision that decides when listed building consent is actually needed, and the answer to the common overstatement that any alteration to a listed building requires consent. Section 7(1): 'no person shall execute or cause to be executed any works for the demolition of a listed building or for its alteration or extension in any manner which would affect its character as a building of special architectural or historic interest, unless the works are authorised under section 8.' The trigger is therefore effect on character as a building of special architectural or historic interest, not alteration as such, so work with no effect on that character falls outside the restriction. Section 7(2) makes subsection (1) subject to section 33(1) of the Planning Act 2008, which excludes the requirement for other consents where development consent is required. Authorisation itself comes from section 8.
-
Floor Scrubber Polisher - 110V, HSS Hire, accessed 30 September 2026. Priced at 2026-09 and left there. hss.com
-
LTP Mattstone Impregnating Sealer 1L, Selco Builders Warehouse, accessed 30 September 2026. Priced at 2026-09 and left there. selcobw.com
-
Care and Conservation of Historic Architectural Tiles, Historic England, accessed 30 September 2026. historicengland.org.uk
-
Looking After Victorian, Georgian and Other Period Tiles, Historic England, accessed 30 September 2026. historicengland.org.uk
-
Planning (Listed Buildings and Conservation Areas) Act 1990, section 7, The National Archives, accessed 30 September 2026. legislation.gov.uk