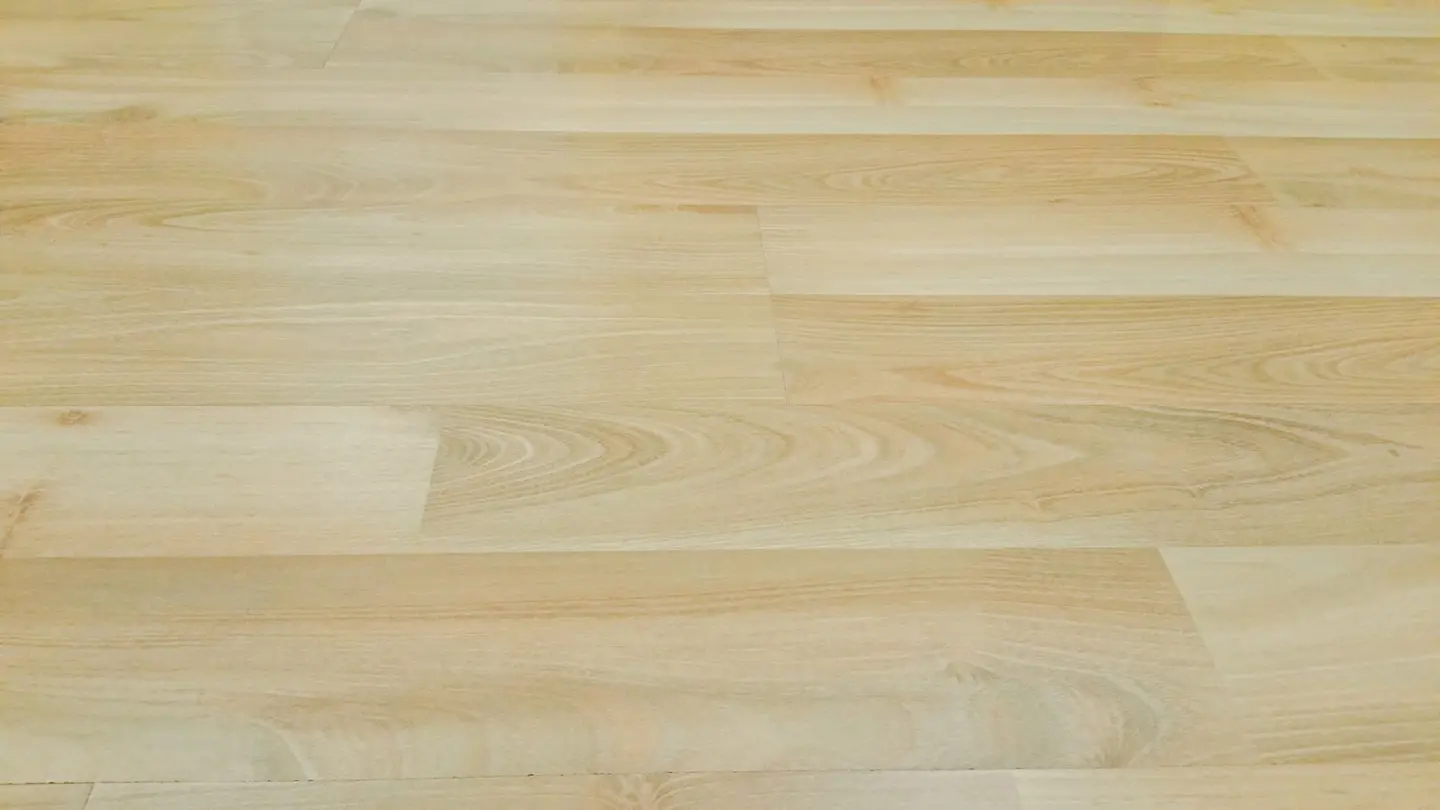
Squeaky floors and creaking stairs are among the most complained-about problems in UK homes, annoying enough to wake people at night, and persistent enough that most people eventually stop trying to fix them and just learn which boards to avoid. The good news is that the majority of floor squeaks are straightforward to diagnose and cheap to fix, often without lifting a single floorboard.
The causes fall into a handful of categories, and matching the right fix to the right cause is the key.
Why Floors and Stairs Squeak
Squeaks are caused by two surfaces rubbing together as the floor deflects under load. The rubbing is usually between:
- A floorboard tongue or edge rubbing against an adjacent board
- A floorboard rubbing against a nail shank as the board rises and falls
- A board moving relative to the joist it sits on
- A stair tread rubbing against a riser or string
- A joist bearing rubbing against a wall plate or hanger
Seasonal movement is a major contributor. Timber takes up and gives off moisture with the air around it, so indoors it tends to shrink in winter, when central heating dries the air, and swell again in the damper summer months. A floor that is silent in August may squeak persistently by December. TRADA names moisture-related shrinkage of timber components, and the friction it causes between them, as one of the main causes of squeaking floors.1 This is normal timber behaviour, not a defect, but it points toward the solution: secure the boards so they cannot move under load, even as they expand and contract seasonally.
Diagnosing the Squeak
Before reaching for tools, localise the squeak precisely:
- Walk the floor slowly with someone watching from below (if accessible) or listening while kneeling on the floor.
- Mark the squeak location with masking tape.
- Try to identify whether the squeak happens on the step down, the step up, or both, this indicates whether it is the nail releasing under compression or the board rubbing laterally.
- Press firmly on the board next to the squeak and try to rock it, if it moves sideways, the tongue-and-groove joint is the culprit. If it bounces up and down, the fixings are loose.
Fixes From Above (Without Access Below)
Screwing the Board Down
The most effective and durable fix for a loose floorboard that moves vertically. Use screws (purpose-made floorboard screws are ideal) or annular ring-shank nails, not smooth nails, which can work loose over time. The screw must reach into the joist, so you need to know where the joists run: they sit at right angles to the boards, usually at 400, 450 or 600 mm centres.2
Steps:
- Locate the joist centre using a joist detector or by tapping (a hollow sound between joists; denser above a joist).
- Pre-drill through the floorboard with a bit slightly smaller than the screw shank. Countersink lightly so the screw head sits flush.
- Drive a 50–65 mm × 4 mm screw into the joist.
- Fill the countersink with matching wood filler if the floor is stained or natural.
For solid hardwood or engineered boards, drill clearance holes through the board so the screw pulls the board down without splitting it.
Lubricating the Joint
For tongue-and-groove boards that squeak laterally (rubbing between boards), dry lubricants can eliminate the squeak without any fastening:
- Powdered graphite or talc: sweep into the joint between boards; work the board several times to carry the lubricant deeper into the tongue-and-groove.
- Wood floor dry lubricant spray: available from flooring suppliers; same principle, less mess.
This fix often silences a squeak immediately and lasts months to years depending on usage. It is non-invasive and completely reversible, the best first attempt on hardwood floors where drilling is undesirable.
Adhesive Injection
Where the board is lifting slightly from the joist and you want to avoid screws on a polished surface, structural grab adhesive can be injected between the board and joist. Products designed for this purpose come with narrow nozzles. Pump the adhesive in, weight the board heavily for several hours, then leave to cure. Results are less predictable than screwing but work well for small areas of movement.
Fixes From Below (Ground Floor or Suspended Floor with Crawl Space)
If you have access beneath the floor (a cellar, crawl space, or accessible void), repairs from below are often cleaner:
Bridging Between Joists
Where the squeak comes from a joist bouncing rather than a board, fit a herringbone strutting or solid blocking between joists to stiffen the span. This is most effective in mid-span positions on longer runs. TRADA lists insufficient strutting among the causes of squeaky floors.1 Cut solid blocks from timber close to the joist depth so they fit tightly, then glue and screw them in from below.
Scribing and Shimming
If a board is bowing away from a joist at mid-span, a thin hardwood shim driven into the gap between joist and board and glued with PVA eliminates the movement. Avoid driving shims so hard that you lift the floor above, just fill the gap snugly.
Screwing Up from Below
In some situations (e.g. a carpet above that you do not want to disturb), a board can be pulled down from below: fix a timber block tight against the side of the joist and under the board, then drive short screws up through the block into the board. Choose a length so the screw goes no deeper into the board than its thickness minus about 4 mm, so it cannot break through the surface: about 18 mm into a 22 mm board, or 24 mm into a 28 mm board.
Fixing Squeaky Stairs
Stair squeaks are typically between:
- Tread and riser (the horizontal step rubbing against the vertical board beneath it)
- Tread and string (the tread rubbing laterally in its housing in the side timber)
- Riser and string (wedges have loosened)
From Above
Drill and countersink 65 mm screws through the tread into the top of the riser, two screws at the front edge of the tread, either side of the centre, through into the riser beneath. Plug and fill the holes.
For tread-to-string movement, apply a squeeze of PVA or grab adhesive into the joint between tread and string while someone stands on the tread, then leave weighted.
From Below (Open-Riser or Accessed from Understair Cupboard)
For traditional timber stairs with an accessible underside, the classic fix is to:
- Re-glue any loose timber wedges that secure treads and risers in their housing in the string (tap them back in with PVA on the face).
- Glue and screw angle blocks (small triangular timber pieces) into the corner between tread and riser, from below.
- Apply a continuous bead of construction adhesive along the tread-riser joint.
Costs
| Fix type | Materials cost | Time |
|---|---|---|
| Screwing board to joist (per board) | £2–£8 (screws + filler) | 30–60 min |
| Lubricating tongue-and-groove | £4–£10 | 15 min |
| Adhesive injection (per area) | £8–£20 | 30 min + cure time |
| Joist bridging (per pair) | £10–£25 | 1–2 hours |
| Stair tread screwing (per step) | £2–£8 | 30 min |
| Understair glue blocks (whole staircase) | £20–£50 | 3–5 hours |
| Joiner to repair staircase (whole flight) | £150–£400 (labour and materials) | Varies with the job |
When to Call a Joiner
Most squeaks do not require professional help. But call a joiner if:
- The squeak is accompanied by visible movement of the floor or step (a noticeable bounce or dip under load), which may indicate a structural defect in the joist or carriage
- There are signs of rot or beetle infestation in the joist or stair carriage (softness, bore dust, hollow sections)
- The stair newel post moves when tested, this is a structural fix involving mortise and tenon repairs or new newel installation
- You have a suspended timber ground floor (common in pre-1960 houses) where the joist ends at the sleeper wall are rotting, this is beyond a squeak fix and requires assessment
A structural joiner’s day rate in the UK runs from £200–£400. For stair repairs, most jobs can be scoped and quoted as a fixed price rather than day-rate work.3
References (3)
Figures in this note were checked against the sources below on 30 September 2026. Superscript numbers in the text point to them. Every source the site cites, by topic.
- 1technicalgoodTRADA, guidance.RN-7LSFD0TRADA's flooring guidance explains why floors squeak in service: moisture-related shrinkage of timber parts and the friction between them is a main cause.
- 2technicalfairTimber Development UK, published by Taylor Maxwell, guidance.RN-SAYZCETimber Development UK's 2023 span tables for C24 solid timber members in dwellings, calculated to Eurocode 5: maximum clear spans of domestic floor joists, ceiling joists and flat roof joists by section, spacing and dead load.
- 3costvery strongOffice for National Statistics.RN-MMT1DOA price, true at 2026-09. The ASHE Table 14 dataset gives annual estimates of paid hours worked and earnings for UK employees by sex and by full-time or part-time status, broken down to four-digit Standard Occupational Classification, which is the level that isolates individual construction trades such as bricklayers, carpenters, plasterers and electricians. Released 23 October 2025 as the 2025 provisional edition (zip, about 10.7 MB), with revised and provisional editions back to 2017. A correction dated 19 December 2025 suppressed annual pay estimates for SOC 3312 police officers in some areas; construction occupations are unaffected.
-
Learn more about wood flooring, TRADA, accessed 30 September 2026. trada.co.uk
-
C24 Span Tables, Timber Development UK, accessed 30 September 2026. taylormaxwell.co.uk
-
Earnings and hours worked, occupation by four-digit SOC: ASHE Table 14, Office for National Statistics, accessed 17 September 2026. Priced at 2026-09, so no calibration is needed. ons.gov.uk