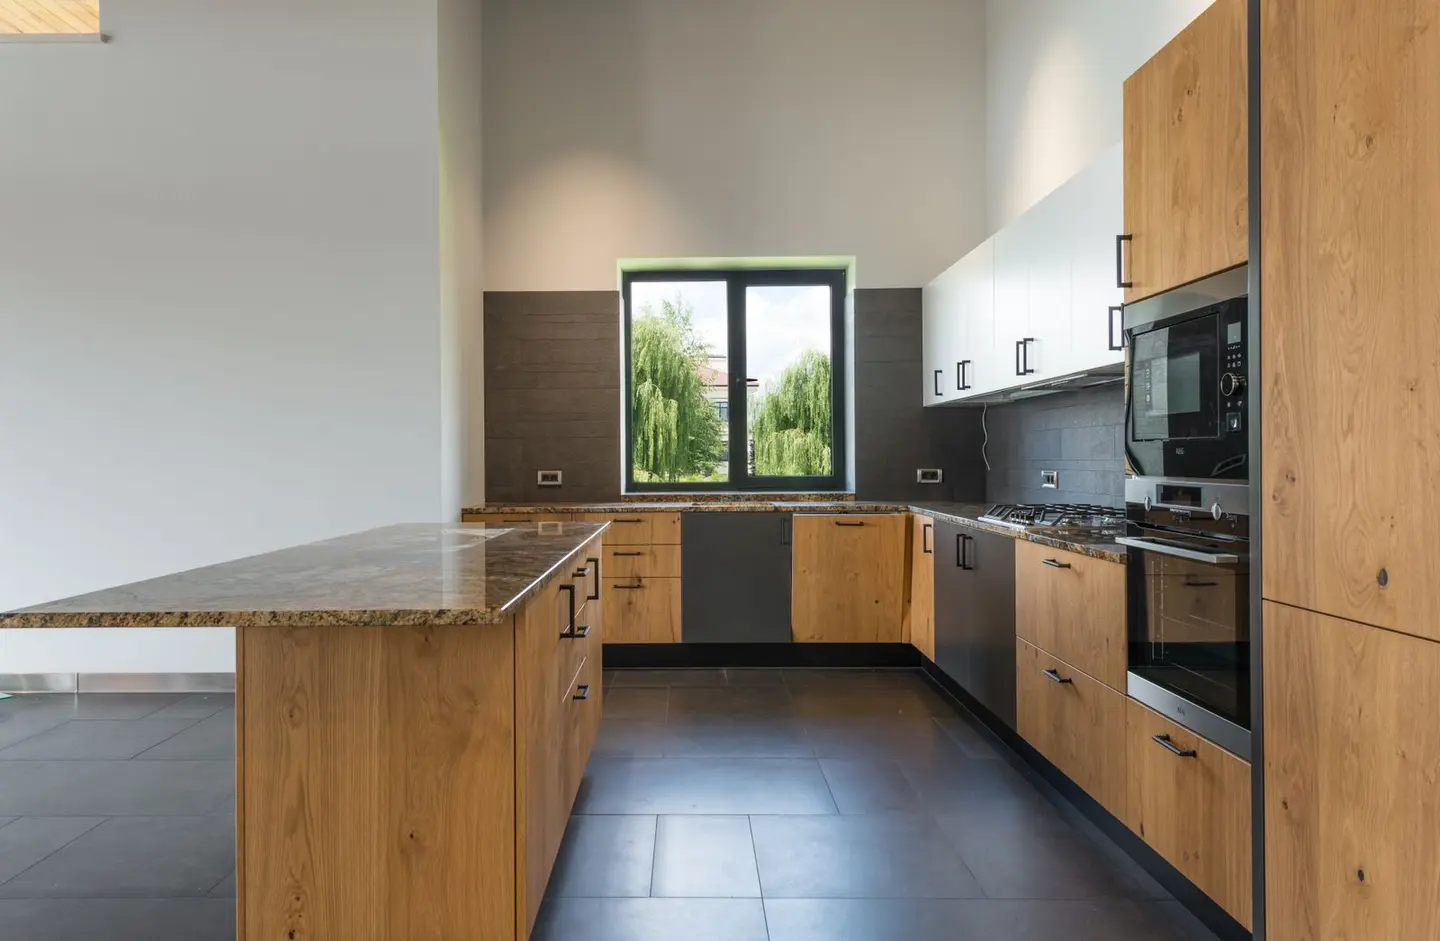
Fitting flat-pack kitchen units is one of the most rewarding, and most unforgiving, DIY projects in the home. The cabinets themselves are straightforward, but accuracy compounds: a base unit 3 mm out of level will leave every worktop joint, door gap and cornice line looking wrong. Done carefully, you can save roughly £1,200–£2,500 in fitting labour on a medium kitchen by doing the installation yourself.
Most flat-pack ranges, such as IKEA METOD and the ranges sold by the big DIY chains, work on the same principle: a carcase screwed or clipped to a wall, soft-close hinges and adjustable legs that let you dial out any floor undulations. The process is the same regardless of brand.
Tools and Materials You Will Need
- Spirit level (at least 1.2 m long) and laser level
- Cordless drill/driver plus SDS hammer drill for masonry
- Jigsaw and circular saw
- Stud finder / live-wire detector
- Silicone sealant gun
- Pozi screwdrivers (sizes 1 and 2)
- Wall plugs suited to masonry or cavity walls (heavy-duty fixings from makers such as Fischer or Rawlplug, chosen by the maker’s recommended load for your wall type)
- Cabinet screws (4.5 × 40 mm for carcase-to-carcase; 5 × 80 mm for wall)
- Adjustable legs (most flat-packs include these; extras cost ~£1 each)
- Plinth clips and kick-board sections
- Filler, primer and paint for patching
Understanding the Layout
Start with a measured drawing, or use the supplier’s free planning tool. Mark the following on your walls with a pencil:
- Floor high point, find the highest point of the floor using a long level or laser. All base units will be set to this height (typically 870 mm to bottom of worktop, though this varies by worktop thickness).
- Wall unit height, the gap above the worktop is usually 450–600 mm; with standard 720 mm wall units that puts the tops at roughly 2,100–2,250 mm. Mark a horizontal datum line.
- Stud positions, mark every stud (typically at 400 mm or 600 mm centres). Wall units should hit at least two studs per cabinet; where that is impossible, fit timber noggins or a plywood pattress behind the board, or use heavy-duty cavity fixings rated by their maker for the load.
- Services, use a pipe and cable detector before drilling. Cables usually run straight up, down or across from sockets and switches, and pipes can run almost anywhere.
Step-by-Step: Base Units
1. Set the leg height. Adjust all legs to the same approximate height. Use your laser or spirit level to project a horizontal line at 870 mm from the floor’s high point across the full run.
2. Assemble the carcases on the floor following the manufacturer’s instructions. Most use cam-lock fittings and wooden dowels. Do not over-tighten cam locks, you risk splitting the chipboard.
3. Position the first unit, typically starting from a corner or appliance space. Use a shim under any leg that won’t adjust finely enough.
4. Level front-to-back and side-to-side, adjusting the four legs individually. Once level, screw adjacent units together through the face-frame or side panels (4.5 × 40 mm screws, two per junction, front and back).
5. Fix to the wall. Drive at least two 5 × 80 mm screws through the hanging rail into studs, or use appropriate cavity fixings for dot-and-dab plasterboard. This prevents the units tipping forward once loaded.
6. Fit the plinth. Snap plinth clips onto the legs, cut kick-board to length and push into the clips. Scribe and cut end pieces as needed.
Step-by-Step: Wall Units
1. Mark the bottom line of the wall units using your datum. Double-check it’s level across the full run, a 2 mm error over 3 m is barely visible; a 10 mm error is obvious.
2. Fix a temporary ledger, a straight 75 × 25 mm batten screwed to the wall along your datum line. Units rest on this while you fix them, freeing up your hands.
3. Hang each unit by fixing through the rear hanging plate. Most flat-pack wall units take two screws per cabinet into studs or cavity anchors. Adjust the height-setting cam inside the hanger plate until each unit sits on the datum.
4. Link adjacent units through the sides with 4.5 × 40 mm screws, two per joint.
5. Remove the ledger and fill the screw holes. Touch up with paint.
Fitting Doors, Handles and Soft-Close Dampers
Hinges are typically Blum or equivalent 35 mm clip-on. Clip to the mounting plate already screwed inside the carcase. Adjust height, depth and side position until door gaps are even, target 2 mm all round. Screw handles through the door face using the template provided.
Typical Costs
| Item | DIY Supply Cost | Tradesperson Supply & Fit |
|---|---|---|
| Base unit (600 mm) | £90–£250 | £250–£500 |
| Wall unit (600 mm) | £80–£200 | £200–£400 |
| Worktop (laminate, per m) | £50–£120 | +£80–£150 labour/m |
| Kitchen fitter day rate | n/a | £200–£350/day |
| Average medium kitchen fit (no worktops) | £0 labour | £1,200–£2,500 labour |
Costs are 2026 estimates including London weighting.
Common Mistakes to Avoid
- Not finding the floor high point first. If you set your first unit to the floor at the lowest point, every subsequent unit will be too low and your worktop will be uneven.
- Skipping the ledger for wall units. Holding a heavy wall unit single-handed while trying to drive a screw into a stud is how cabinets get dropped and walls get damaged.
- Using the wrong fixings. In many newer houses, internal walls are timber or metal-stud partitions lined with plasterboard. Standard wall plugs pull straight out. Fix into studs or noggins where you can, and otherwise use heavy-duty cavity fixings such as spring toggles or metal cavity anchors, checking the maker’s load rating for the board.
- Forgetting services. Always scan before drilling. Clipping a buried cable is dangerous, and the repair means an electrician, chasing out and replastering.
- Rushing the scribing. Where units meet a wall or tall housing, scribe the filler panel carefully with a compass and jigsaw. A visible gap between a panel and an uneven wall is the most common tell that a kitchen was fitted by a first-timer.
When to Call a Professional
If your kitchen involves moving gas supplies, relocating a consumer unit, or altering soil stacks, bring in the right trades. Anyone employed to work on gas appliances in your home must be a Gas Safe registered engineer.1 Replacing a consumer unit or adding a new circuit, such as a cooker circuit, is notifiable under Part P, so use an electrician registered with a competent person scheme or notify building control.2 A kitchen sink does not create a special location: the notifiable zones in Part P are the spaces around a bath or shower, and the 3 m distance often quoted is the guidance for socket-outlets near a bath tub or shower tray.2 Worktop joins and upstand silicone are often best left to a fitter if you want a finish you’d be happy showing off, a single poorly cut join can look worse than the rest of the kitchen combined.
A solo DIYer fitting a standard 12-unit kitchen with no structural changes can realistically complete the job in two to three days, saving roughly £1,200–£2,500 on labour.
References (2)
Figures in this note were checked against the sources below on 30 September 2026. Superscript numbers in the text point to them. Every source the site cites, by topic.
- 1technicalvery strongHealth and Safety Executive, guidance.RN-HNP39HHSE's domestic gas safety FAQs; they state that anyone employed to work on gas appliances in a home must be on the Gas Safe Register.
- 2technicalvery strongMinistry of Housing, Communities and Local Government.RN-JYJ3I5The document that decides what electrical work a homeowner may legally do themselves, and the exact list of notifiable jobs. Regulation 12(6A), reproduced at paragraph 2.5, makes only three things notifiable: the installation of a new circuit, the replacement of a consumer unit, and any addition or alteration to existing circuits in a special location. Regulation 12(9) defines special location as, in a room containing a bath or shower, the zone extending vertically from finished floor level to 2.25 metres (or the shower head position if higher) and horizontally 600mm from the edge of the bath tub or shower tray. Paragraph 2.7 states that all other electrical installation work is not notifiable, namely additions and alterations to existing installations outside special locations, and replacements, repairs and maintenance anywhere. Paragraph 2.8 gives worked examples: a built-in cooker is not notifiable unless a new cooker circuit is needed, and connecting an electric gate or garage door to an existing isolator is not notifiable but running a new circuit from the consumer unit to that isolator is. Paragraph 2.2 confirms Part P reaches outdoor work including fixed garden lighting, pond pumps and outbuildings such as sheds, detached garages and domestic greenhouses. Notifiable work must be certified by self-certification by a registered competent person, third-party certification, or a building control body (paragraph 3.1), with the compliance certificate issued within 30 days (paragraph 3.4). Note that Approved Document P is a source of guidance rather than a ban: non-notifiable work still has to comply with BS 7671.
-
Gas safety: frequently asked questions, Health and Safety Executive, accessed 30 September 2026. hse.gov.uk
-
Approved Document P, Electrical safety: Dwellings, 2013 edition incorporating 2010 and 2013 amendments, Ministry of Housing, Communities and Local Government, accessed 30 September 2026. assets.publishing.service.gov.uk